


Not long ago I wrote about chasing being known as the “Old Man of the Pit.” Well, I’m not there yet and maybe never will be. But I’m going to keep on cooking meat low and slow over fire and smoke. In that piece I mentioned that I finally have a brisket method that works about 80% of the time, and that maybe one day I’d write it down.
Today is that day.
Brisket is the ultimate test. It’s the most humbling and most rewarding thing you can cook on a smoker. Done right, it’s the finest barbecue on earth. Done wrong, it’s expensive, tough, and disappointing. I’ve spent two decades now smoking everything from ribs to pork shoulders to whole turkeys, and cooking brisket 5-6 times a year.
In that time, two books became major eye-openers for me: Meathead’s “The Science of Great Barbecue and Grilling” and Aaron Franklin’s “Franklin Barbecue: A Meat-Smoking Manifesto.” Those books made a world of difference in my barbecue cooking overall, but especially with brisket. They helped me finally land on a method that gives me consistently good results, often great ones.
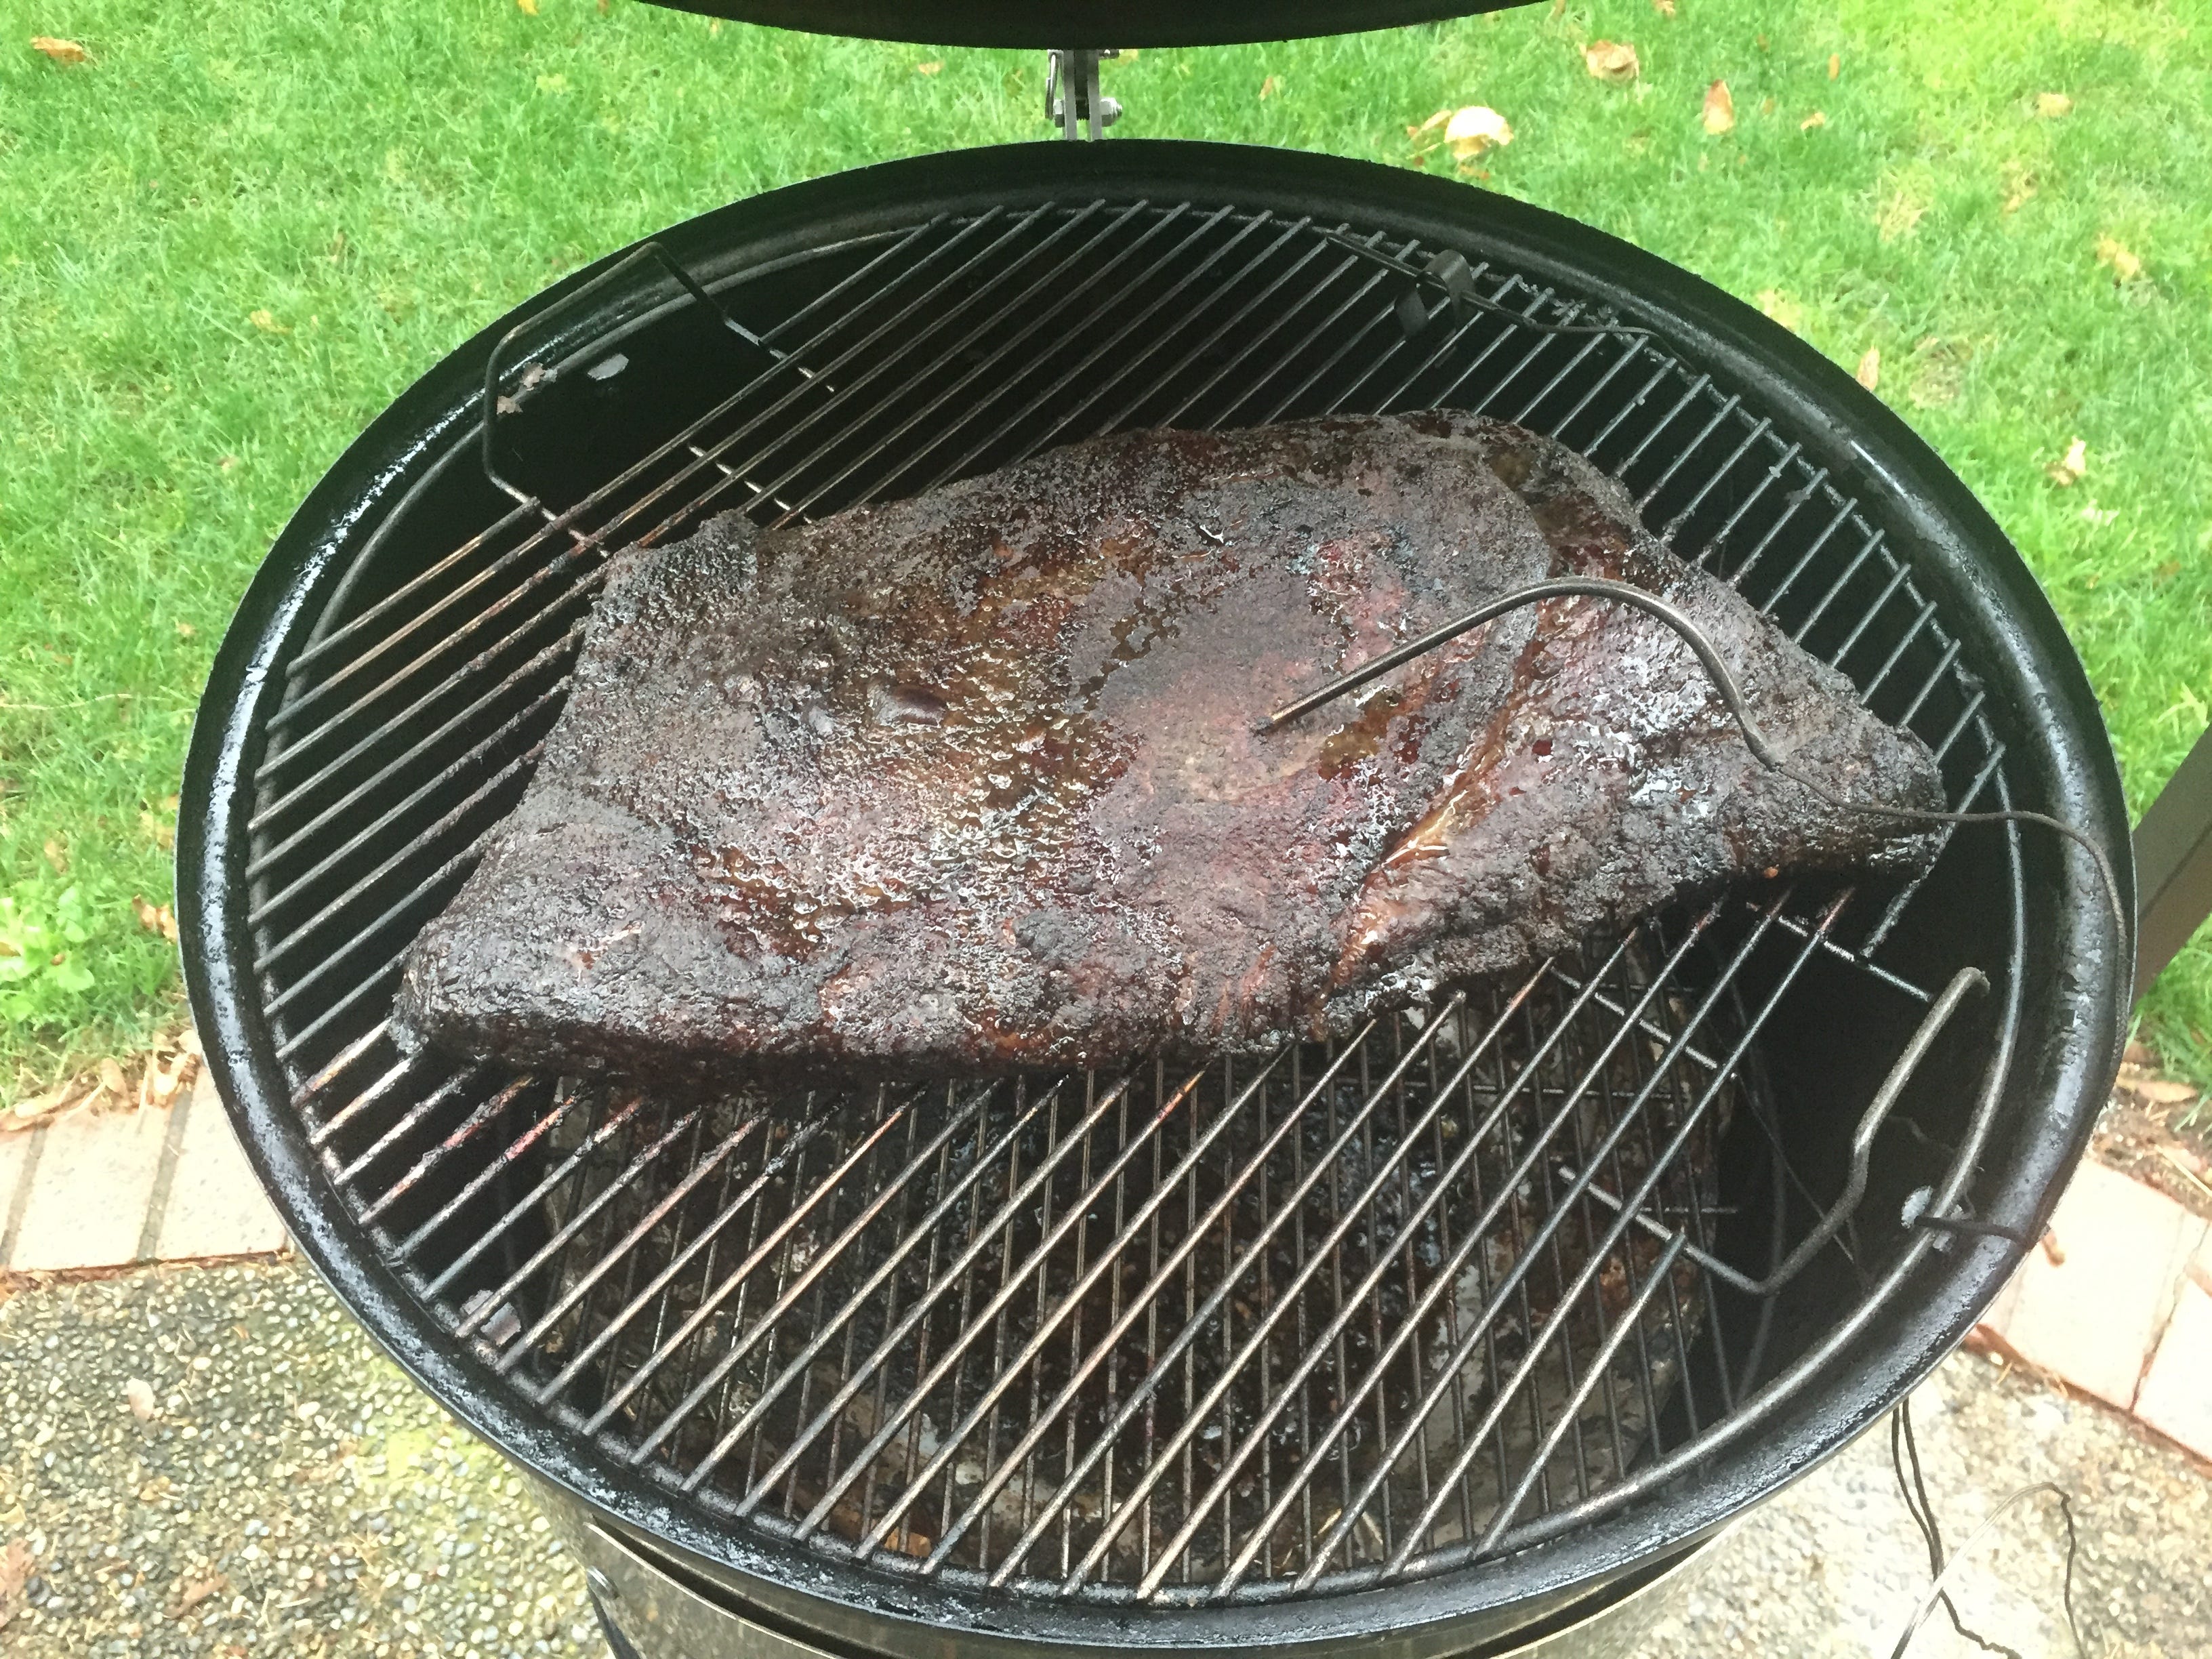
Here’s exactly how I do it.
My Brisket Method
About the Meat
Buy a whole packer brisket, both the point and the flat still connected. Go for Choice or Prime. I strongly prefer Costco Prime packers in the 14–16 lb range. Bigger is generally better. Avoid ultra-premium Wagyu for your first few cooks. They behave differently and cost a lot of money.
Trimming
Trim the brisket following a good video. I still use Aaron Franklin’s classic trimming video:
Aaron Franklin Brisket Prep
Trim the fat aggressively. If you leave a thick layer of fat on top, you’ll end up with rub sitting on fat instead of meat. Many guests will just cut that fat away, taking your carefully built bark and rub with it.


Dry Brine (24–48 hours ahead)
½ teaspoon Morton’s kosher salt per pound of meat.
Liberally coat all sides of the trimmed brisket, working it into flaps and folds. Place on a cookie sheet uncovered in the fridge for 24–48 hours.
Rub (applied right before cooking)
For a ~14 lb trimmed brisket:
5 tsp coarse ground black pepper
5 tsp granulated garlic
Mix the pepper and garlic evenly and apply liberally to all sides right before it goes on the smoker.
Wood
I use well-seasoned red oak from a local source. But any good hardwood is going to work fine. Never use kiln-dried wood.
Smoker Setup
Set up your grill/smoker for 2-zone indirect cooking. Target 225–250°F on the indirect side. Get your smoke rolling before the meat goes on. I use wood chunks because all my grills are charcoal. If you have a stick burner style smoker, you know more than I do what you need to do here. If you run propane, get yourself set up indirect and add smoke with a Pellet Smoker Tube or similar.
Important: Plan for your smoker to run steadily for 14–16 hours. Make sure you have plenty of fuel (a full propane tank, enough charcoal, or sufficient seasoned wood) before you start. Running out of fuel mid-cook is a nightmare you want to avoid.
Use a good digital thermometer. These days I primarily use a Fireboard 2, which is excellent. There are plenty of other good thermometers out there. I still occasionally pull out my old Maverick ET-732 for fun. It still works great, but unfortunately it’s no longer available for sale.
The Cook
Take the brisket straight from the fridge (cold and moist) and put it on the indirect side. Insert a probe into the thickest part of the flat.
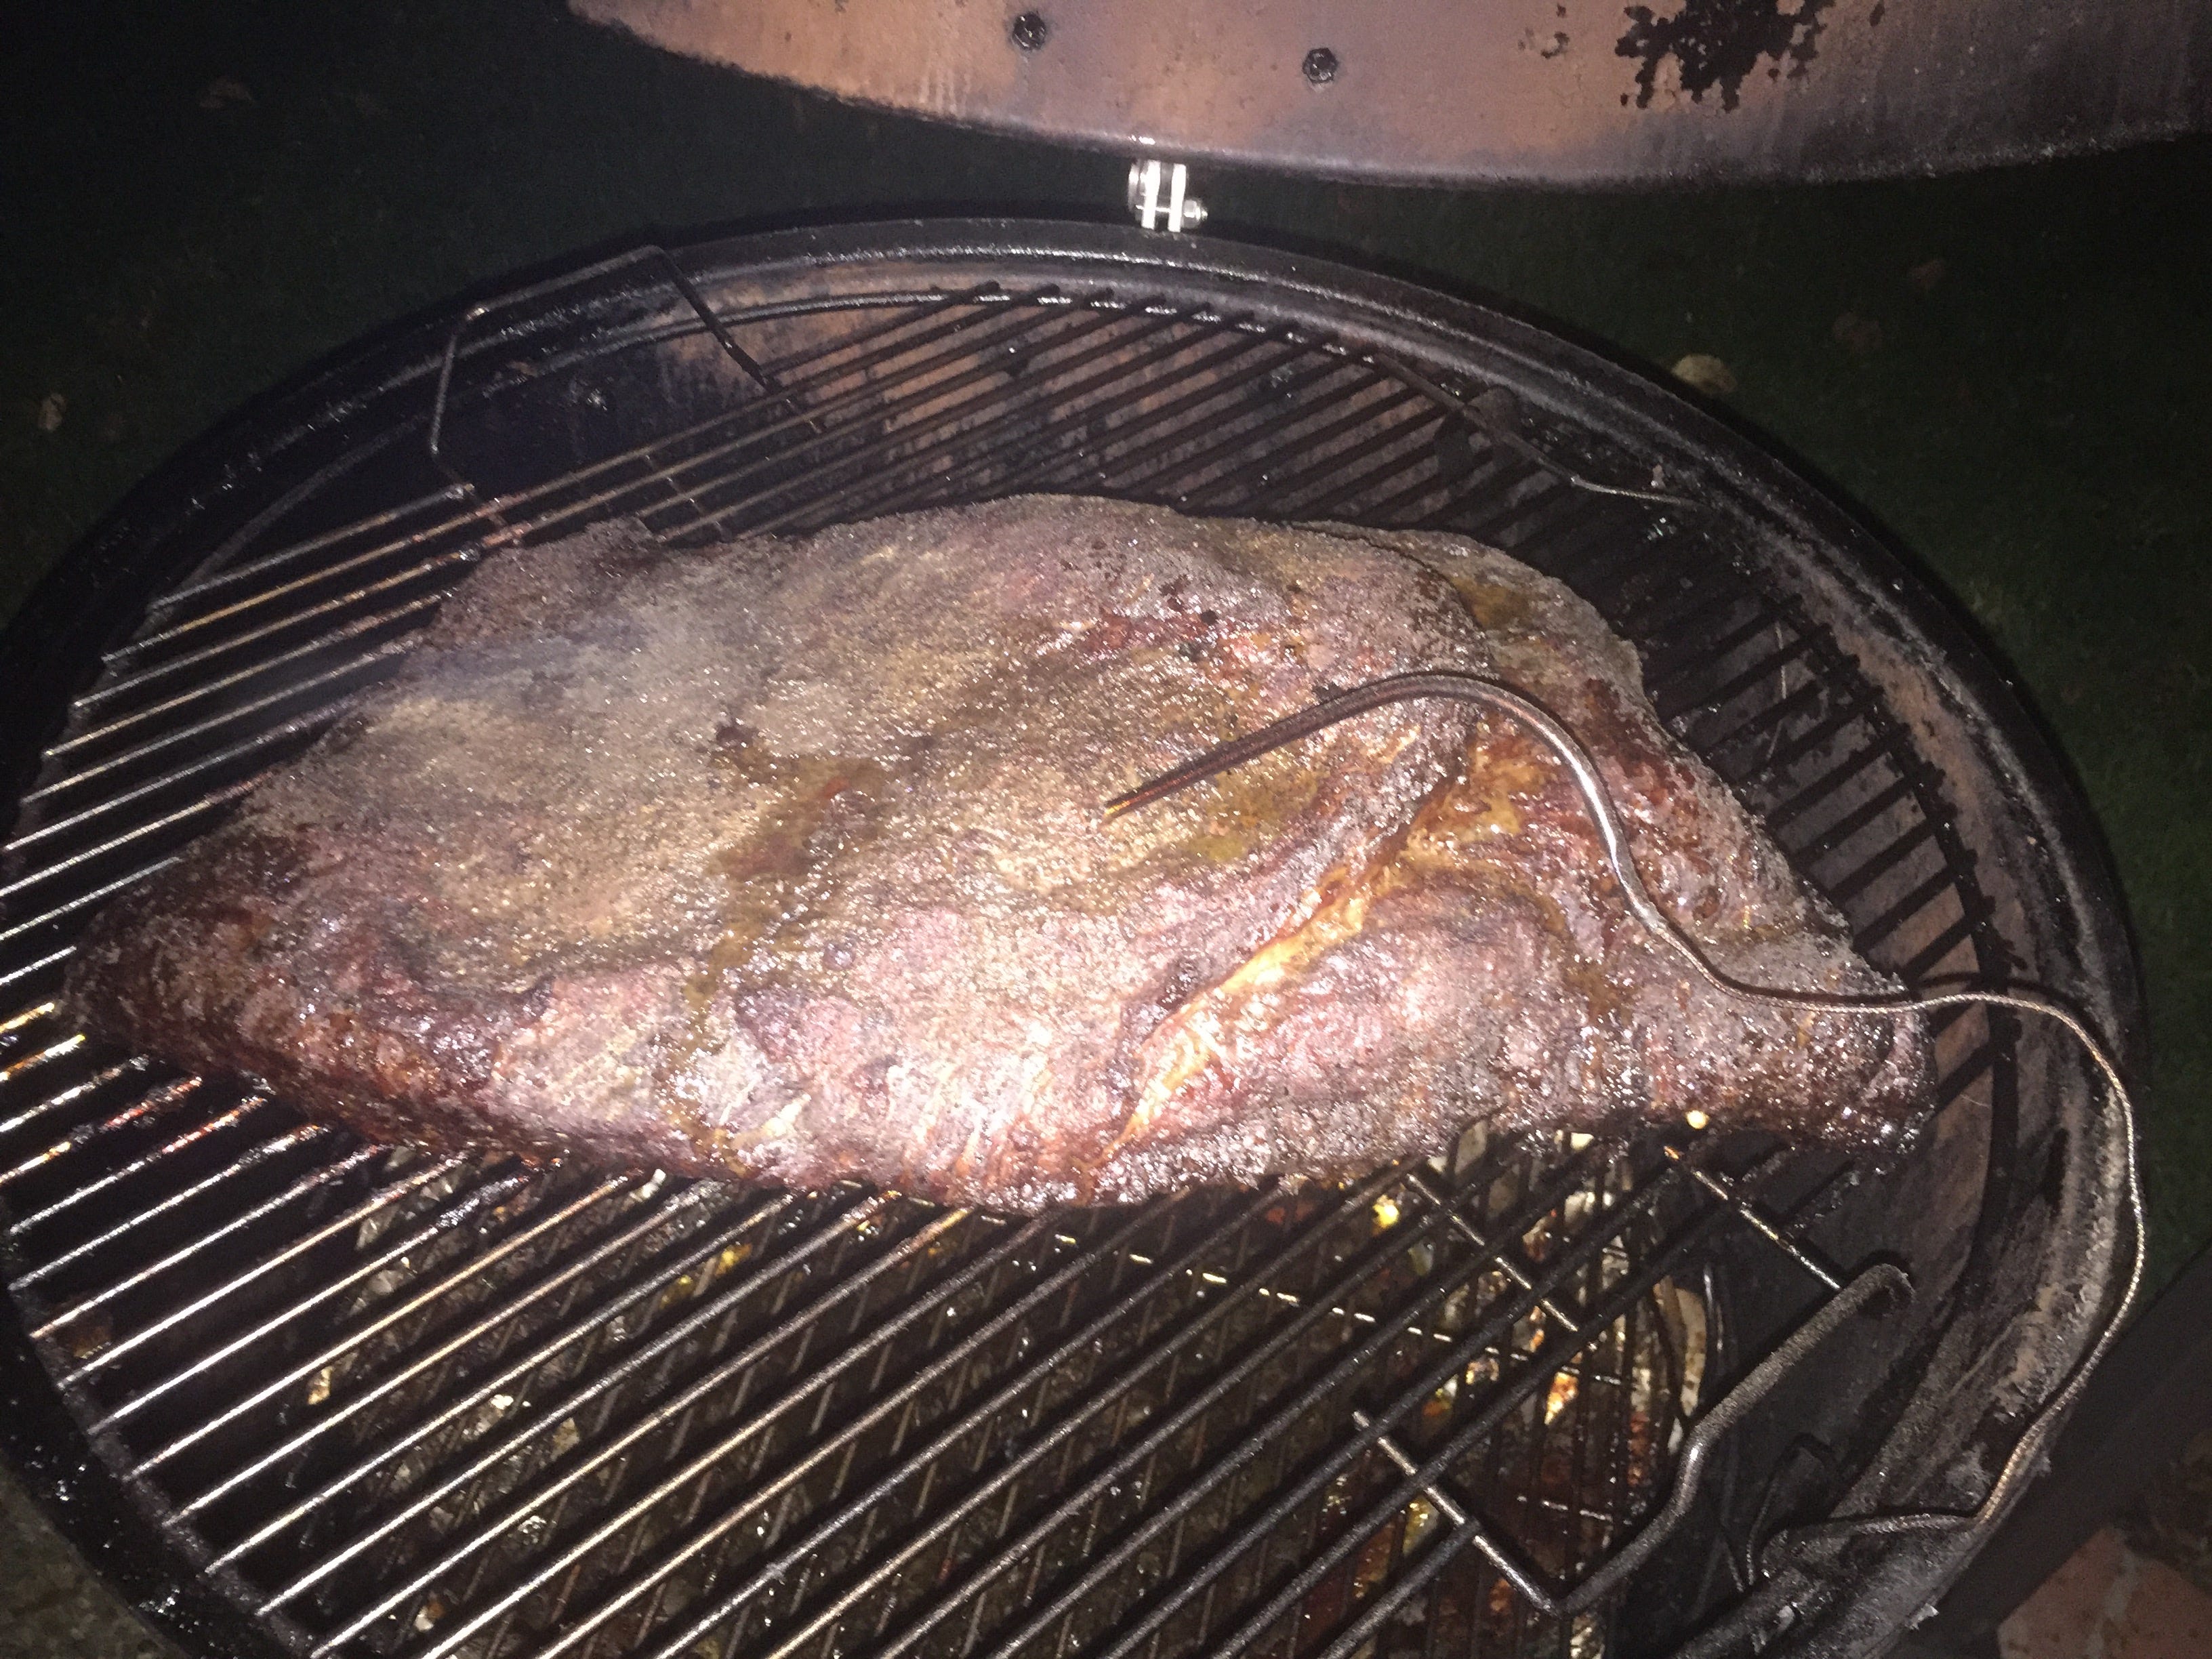
Cook at 225–250°F. Expect the stall around 155°F. This is completely normal. Do not panic. Do not spritz. Just keep the temperature steady and let science do its thing.
Start checking for doneness once it hits 190°F. The real test isn’t the temperature. It’s the probe test. When a thin thermometer or cake tester slides into the meat like a knife going into warm butter, it’s done. This usually happens between 190–205°F. Total cook time is typically 12–14 hours.
Resting / Holding
Remove the brisket and wrap it tightly in butcher paper (I no longer use foil for resting). Place in a 170°F oven or wrap in towels and put in a beer cooler. Hold for a minimum of 1 hour, ideally 2–4 hours. I usually plan for a 4-hour hold.
Slicing & Serving
Unwrap and let it sit on the cutting board for 10–15 minutes until the internal temperature drops to around 150°F. Slice against the grain into ¼” slices.
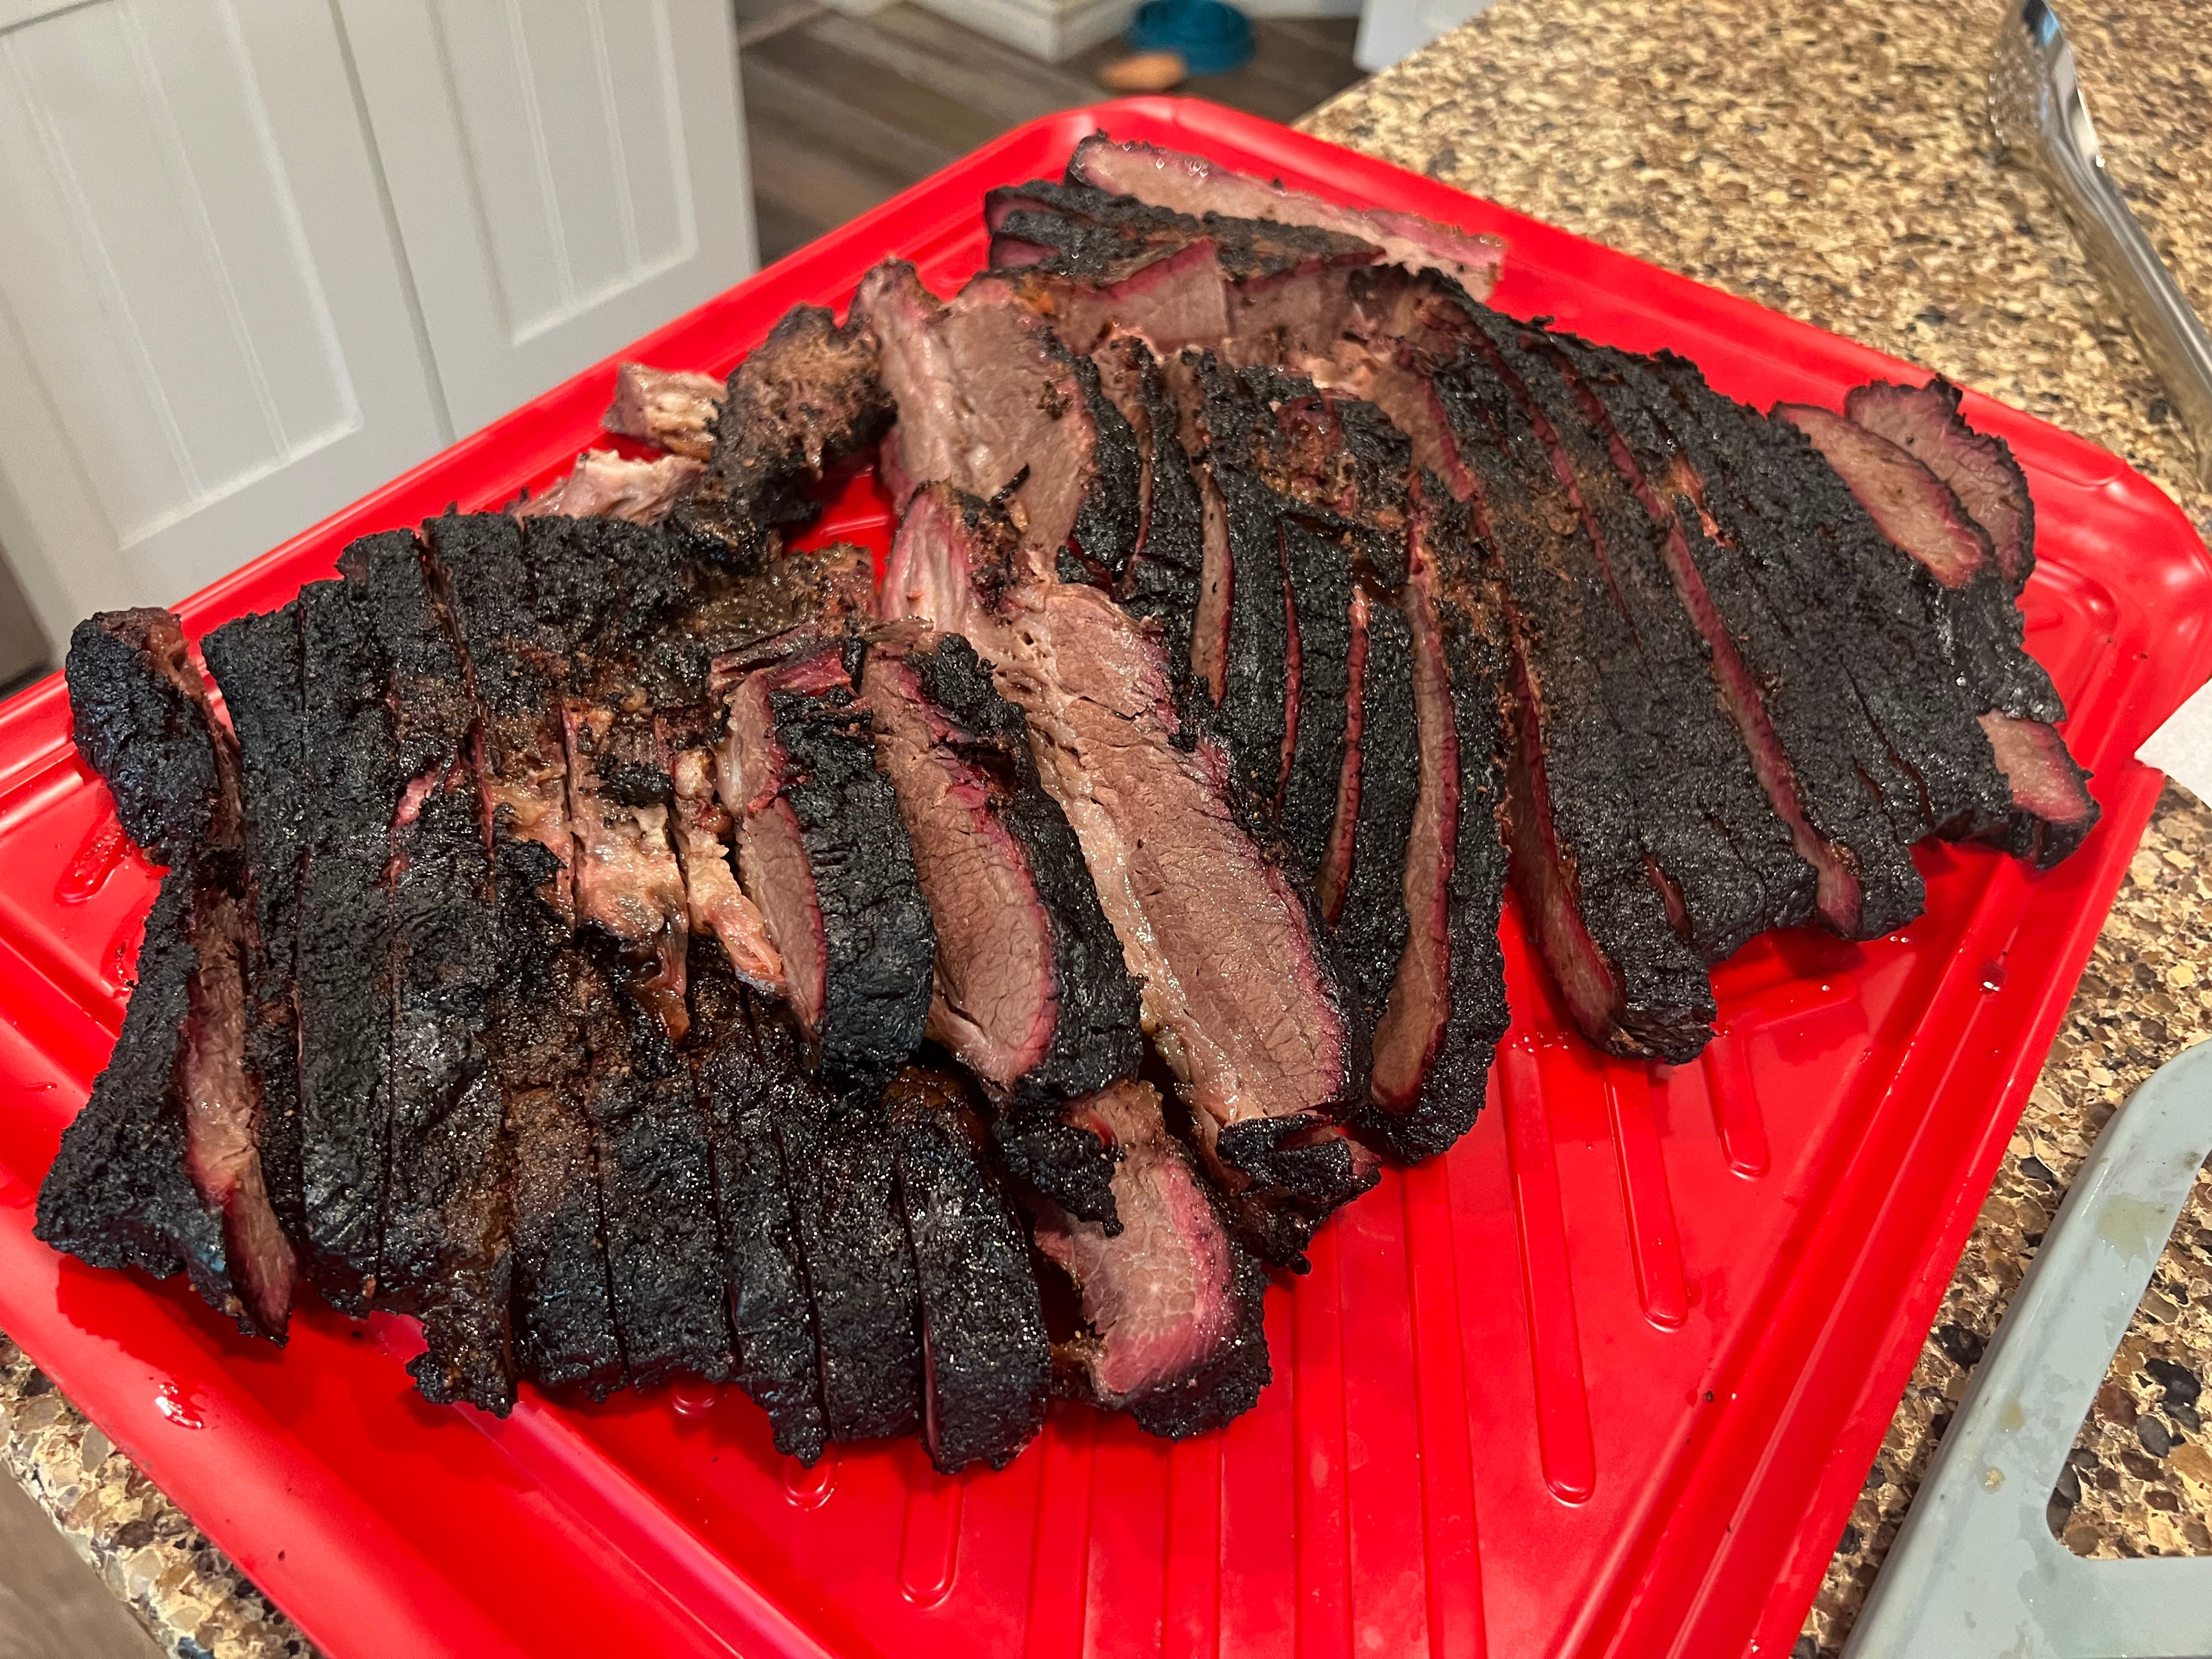
Great slicing reference here (starts at 8:00):
Slicing Brisket Video
Total Time Planning
Plan for 19 hours start to finish:
1 hour to get the smoker stable
14 hours cooking
4 hours holding
If it finishes early, just hold it longer. It only gets better.
Common Brisket Failures & How to Fix Them
Here are the mistakes I see most often:
1. I’m scared to cook a whole brisket and screw it up
The first time, cook a whole brisket. It’s actually easier and more forgiving than cooking a hunk of flat. The big brisket handles heat much better, requires much less babysitting, and is much less likely to end up overcooked.
The very first brisket I ever cooked was a 5 lb piece of flat I got from the butcher. I ended up with a crumbly, dry brisket, the classic overcooked outcome. People told me it was good, but I knew better. Don’t make the same mistake I did.
2. It’s tough and dry
Usually caused by undercooking or not resting long enough. Solution: Trust the probe tenderness test over time or temperature. Always rest/hold properly. This is non-negotiable.
3. The stall freaks me out
The temperature stops rising for hours around 155°F. This is completely normal. For a deeper understanding of why it happens and how to handle it, read Meathead’s excellent article:
Understanding and Beating the Barbecue Stall
Do not crank the heat. Do not spritz. Just maintain your temperature and ride it out.
4. Bark is too dark / bitter
Either the temperature was too high or you used poor-quality wood (especially kiln-dried). Keep it at 225–250°F and use properly seasoned hardwood.
5. It finished way too early or too late
Briskets are never exactly the same. That’s why the 19-hour plan with a big hold window is important. You can always hold longer, but you can’t speed up time.
If you are well into your cook and it becomes obvious that you won’t hit done when planned, you have options. First, you can push the cook longer and shorten the hold. Second, if that won’t get you done on time, you can wrap the brisket in butcher paper anytime after about 160°F internal to shorten the stall. This will probably save 1.5–2 hours of cooking time.
6. It tastes like pot roast instead of barbecue
This usually happens when people wrap in foil too early (the Texas crutch). I avoid foil during the cook for this reason.
There you have it. My current brisket method. It’s not complicated, but it does require patience and respect for the process. Follow it exactly the first couple of times. Once you’re comfortable, you can start tweaking to your own taste.
Fire up the smoker, buy a good brisket, and give it a shot. Let me know how it turns out.
Smoke on,
Eric
Resources
Trimming Brisket - Aaron Franklin - The Brisket
Slicing Brisket - Aaron Franklin - The Payoff (starts about 8 min mark)
The Stall - Meathead and the science of the stall
Another Method → Meathead’s Texas Brisket Method
Great thermometer → The Fireboard 2
I received Franklin Barbecue as a gift a couple of years - the first family dinner request was to make The Tipsy Texan (pg 188), oh man, are they good!
“Never use kiln-dried wood” - can you talk about why? I saw you referenced it in relation to the bark, but just looking to understand this part!
“If that won’t get you done on time, you can wrap the brisket in butcher paper anytime after about 160°F internal to shorten the stall.” - do you leave it wrapped the rest of the smoke, or only until you escape the stall?